Applying Meal Plan Templates to Calendar
Pro FeaturePro Feature Required
This feature requires a Pro account (Dietitian, Facilities, or Residential Facilities tier).
Learn more about feature access or contact us at [email protected]
Once your meal plan template is ready, you will apply it to a meal plan (calendar) that we can later use to generate a shopping list from.
Step-by-Step Process
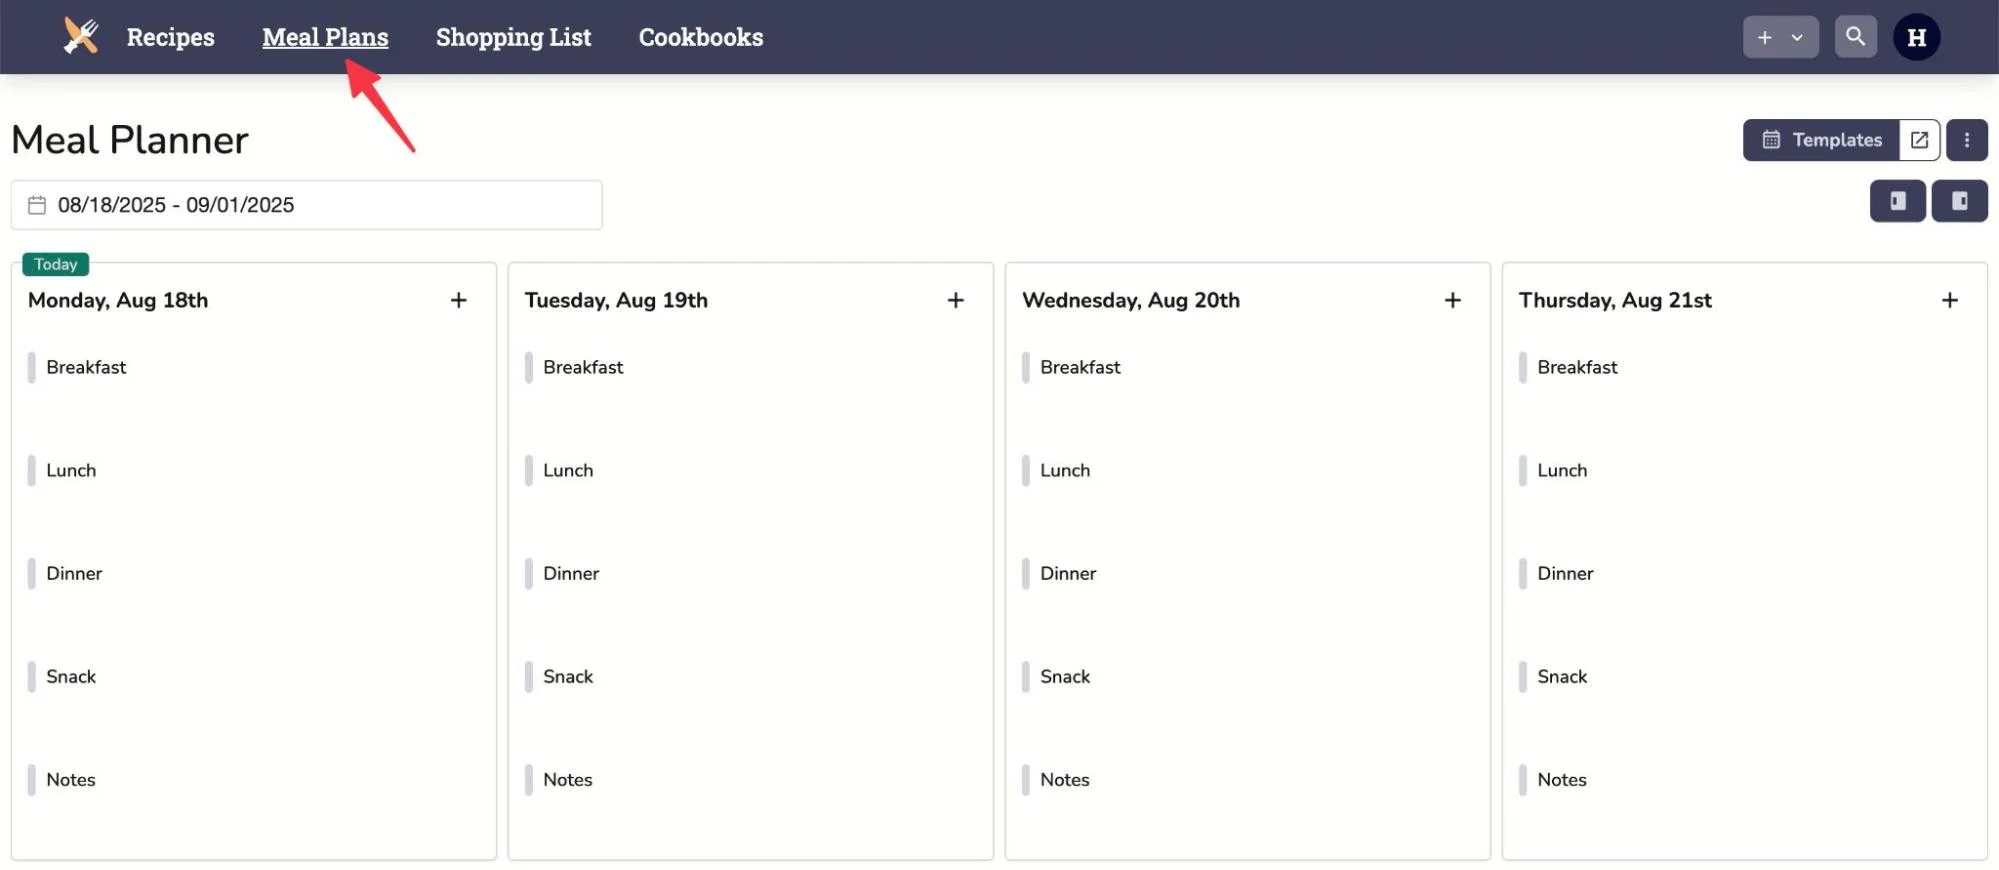
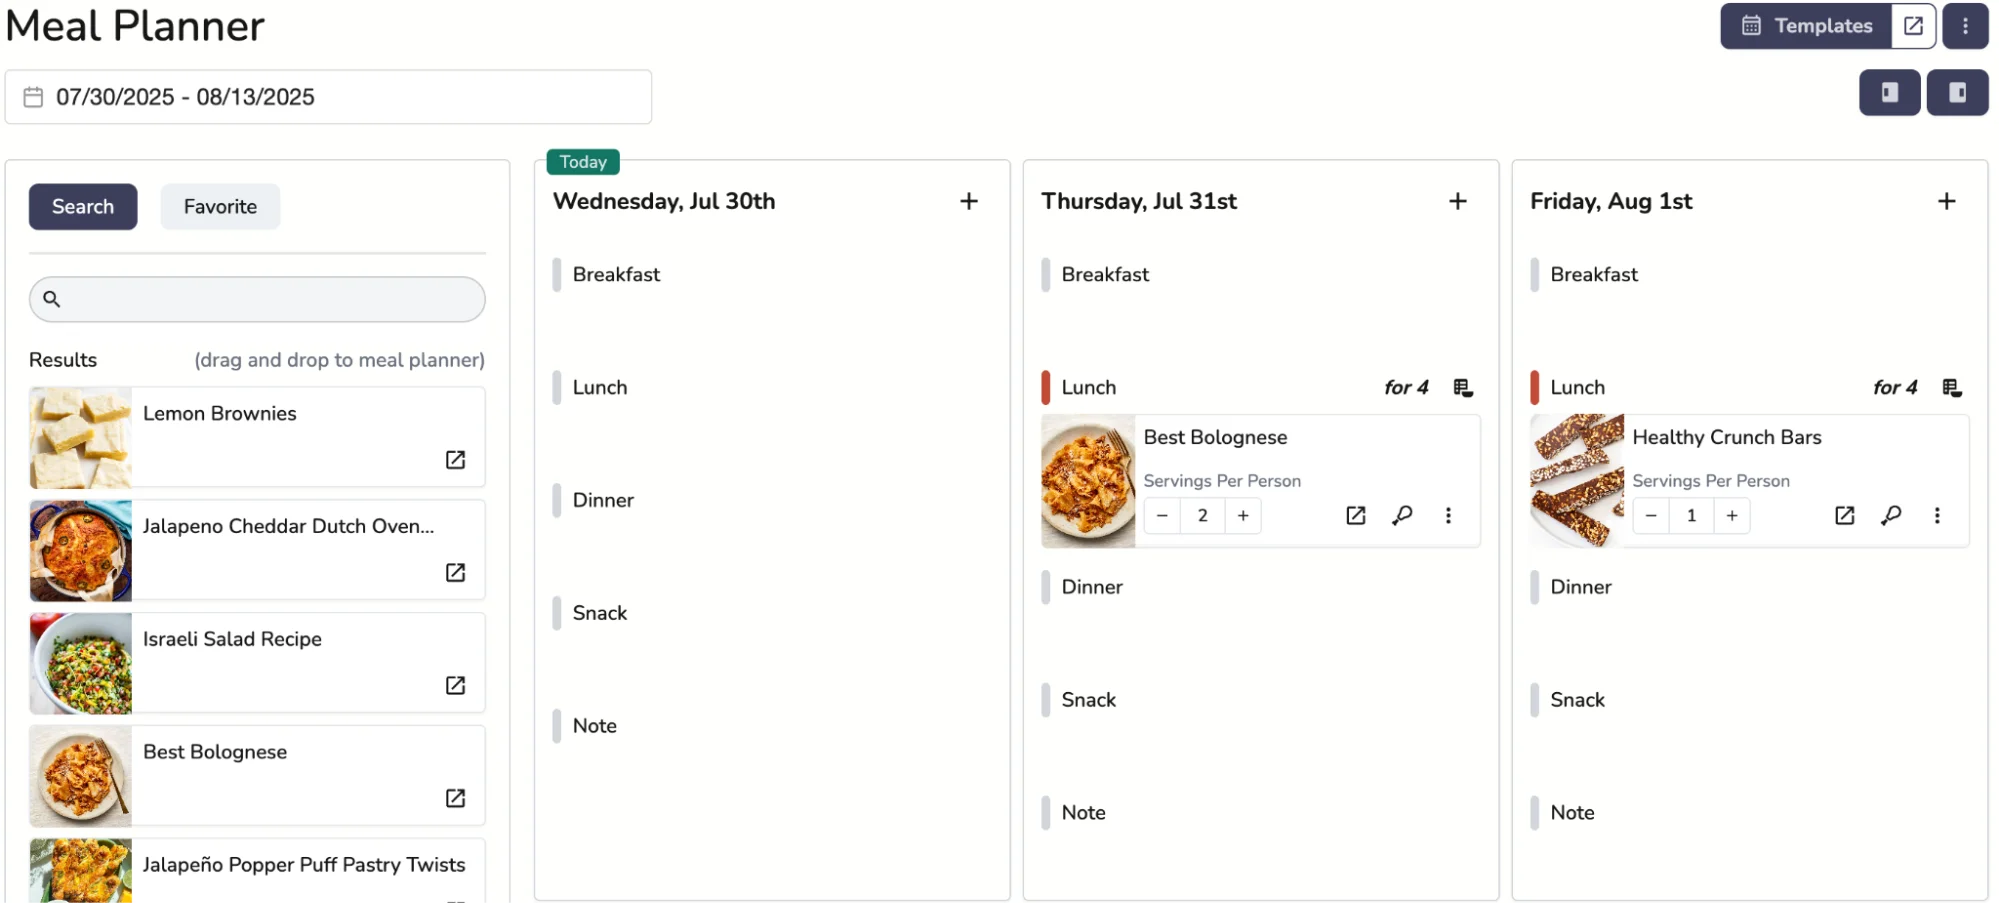
1. Navigate to the Meal Plans Page
Start by going to the Meal Plans section in your Recipinned account.
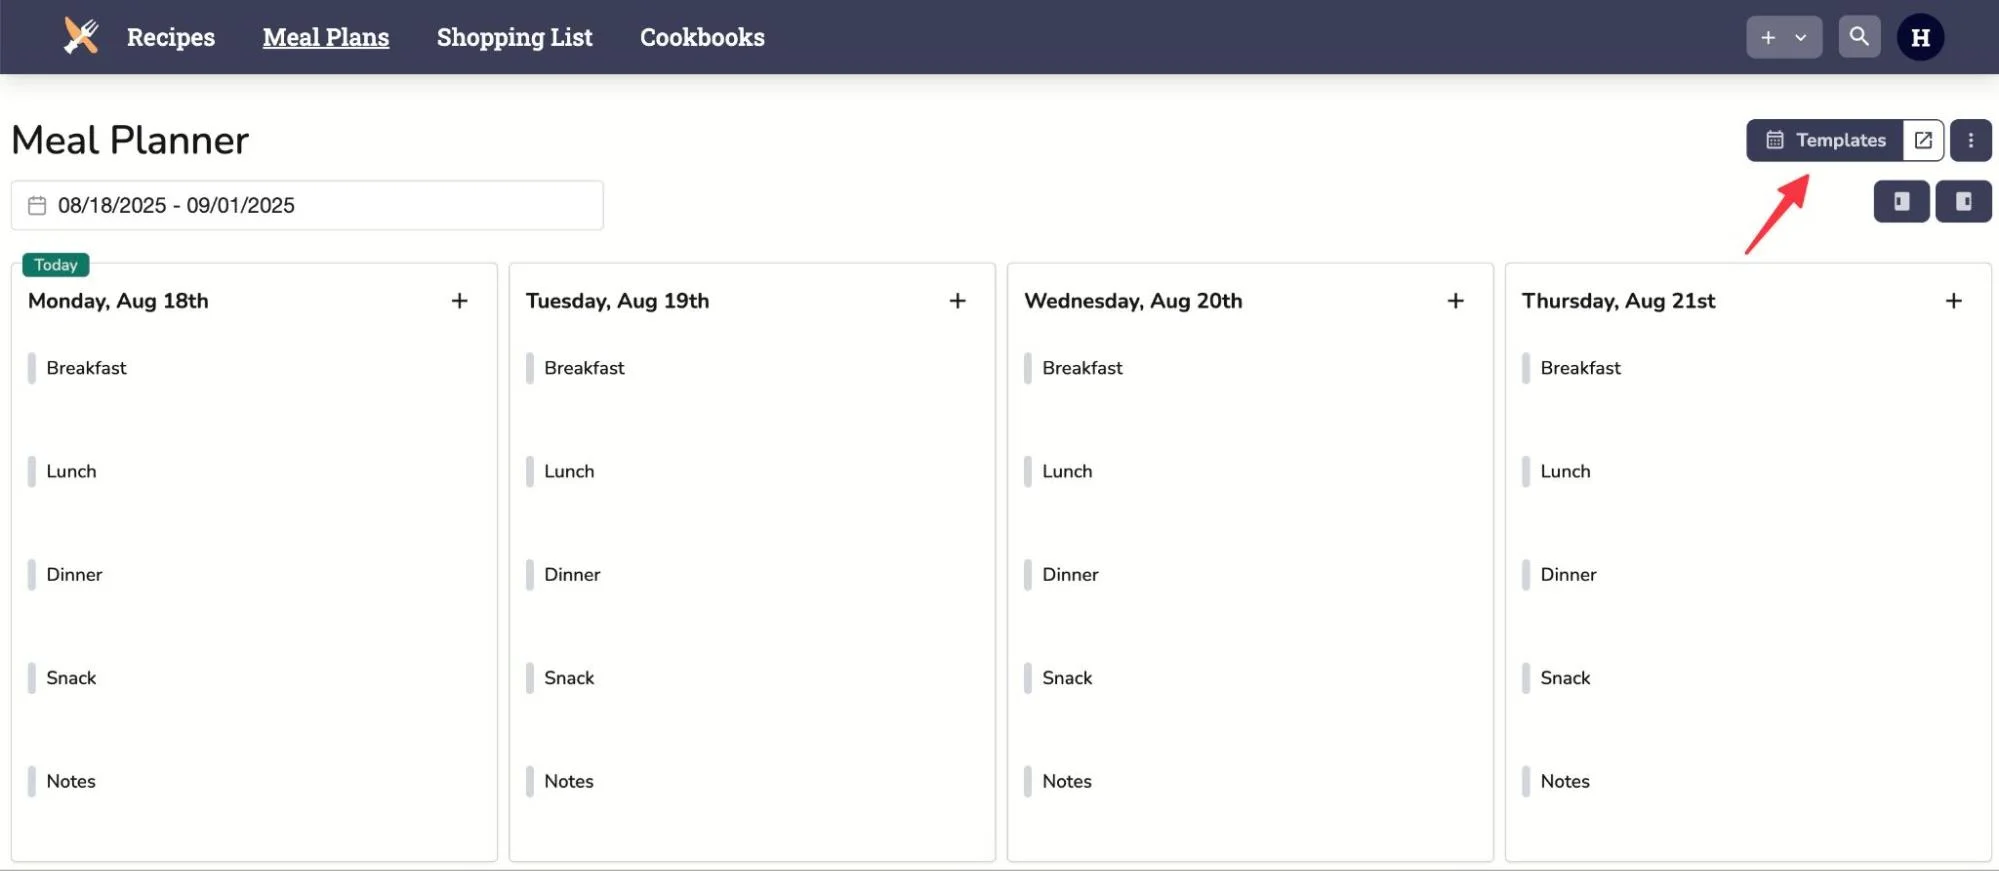
2. Access Templates
Click the templates button on the right side of the page.
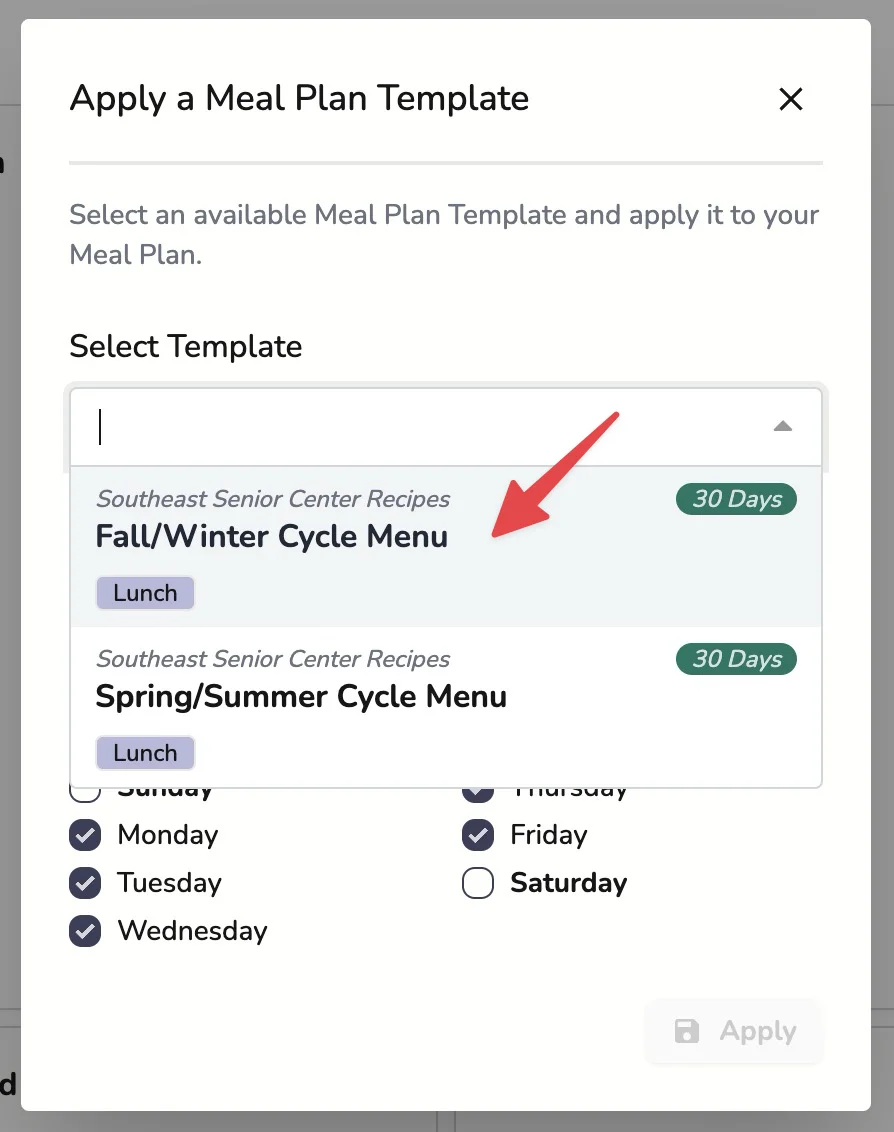
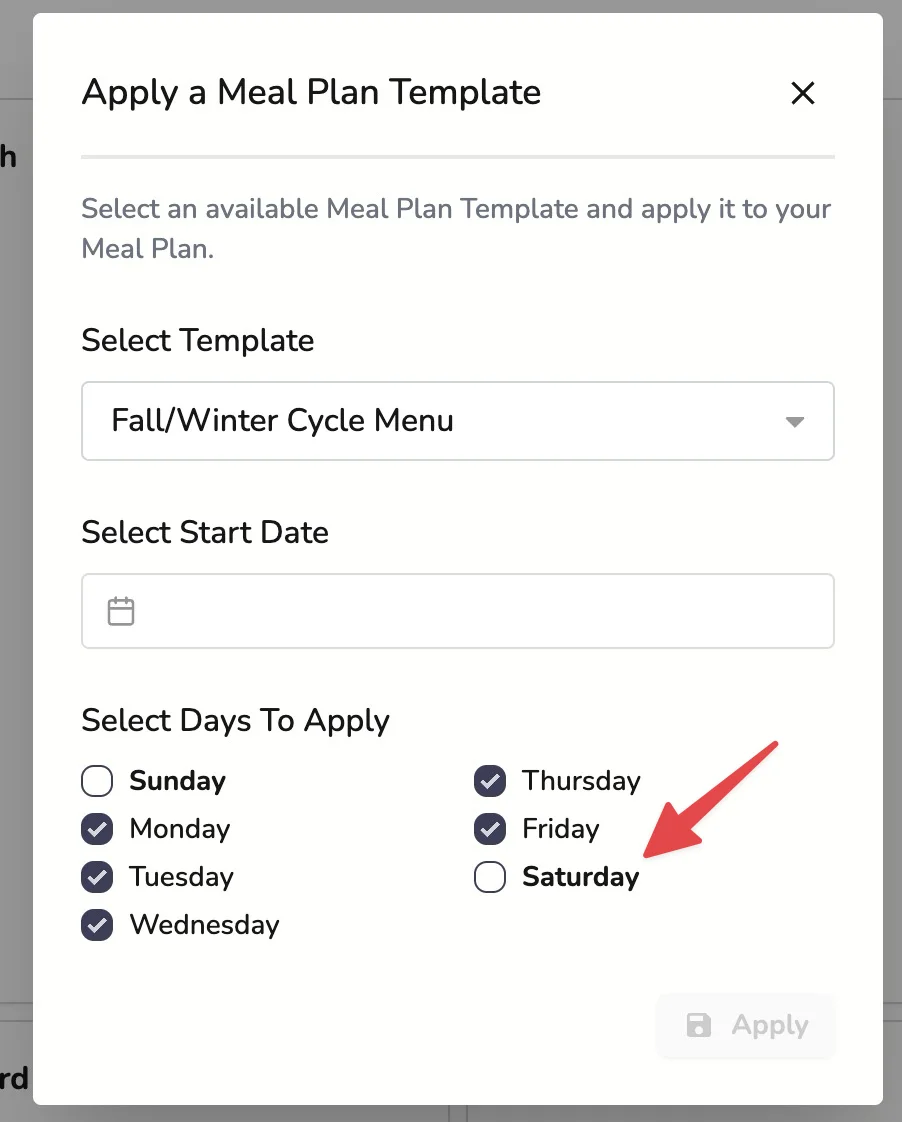
3. Select Your Template
Choose the template you’d like to use from the available options.
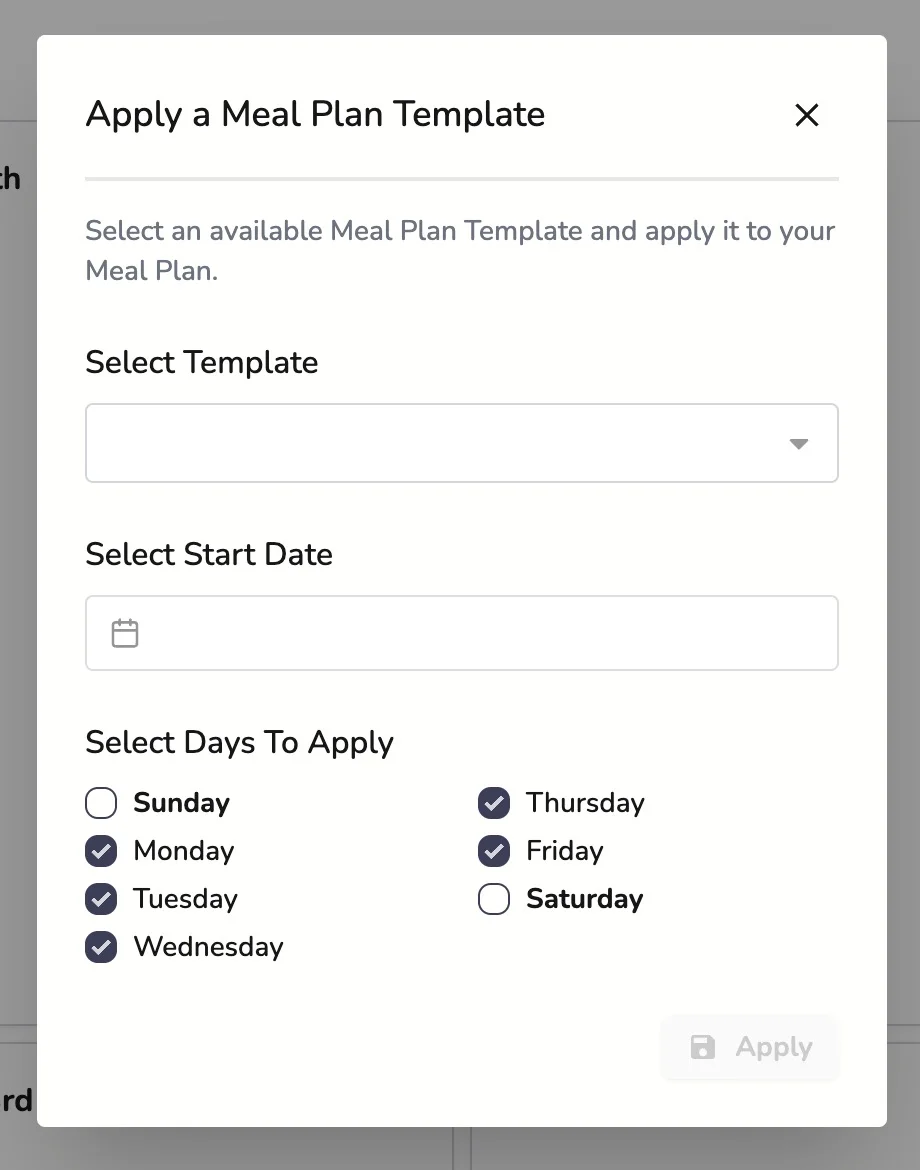
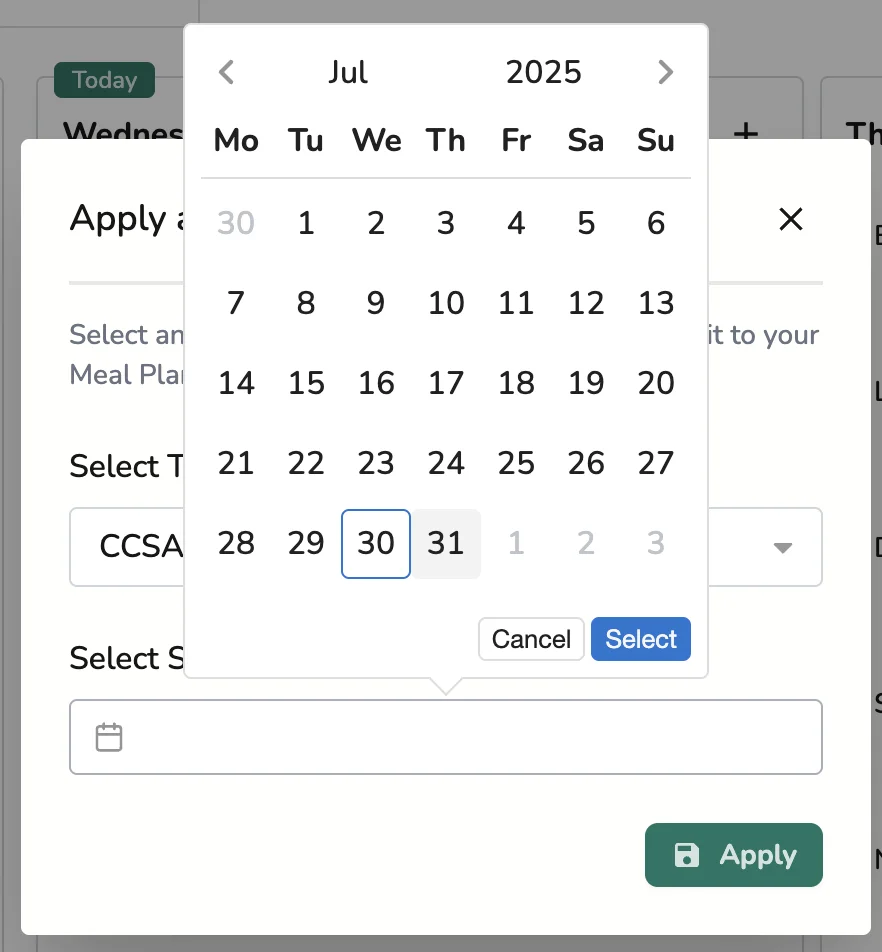
4. Choose Start Date
Select the start date for when you want the meal plan to begin.
5. Configure Days
Select the days you would like to apply the template to. For example, if your facility is not open on Saturday or Sunday, you can uncheck those days and the meal plan will skip to Monday.
6. Apply the Template
When you click Apply, the meal plan days will be applied to the calendar starting from your selected start date.
Making Individual Adjustments
After applying the template, you can make individual adjustments to the menu, such as:
- Swapping meals for specific days
- Changing the number of meals
- Substituting menu items
Next Steps
Once your meal plan is applied to the calendar, you can:
This flexible system allows you to maintain consistency with templates while making adjustments for specific needs or preferences.
Last revised: